6 Easy Tricks To Elevate Your Travel Photos
As travel begins to reopen, it’s time to start planning how you’ll document your adventures around the world. Whatever camera equipment you have, whether an expensive DSLR or simply a smartphone in your pocket, you can take your photos to the next level by following these easy tips.
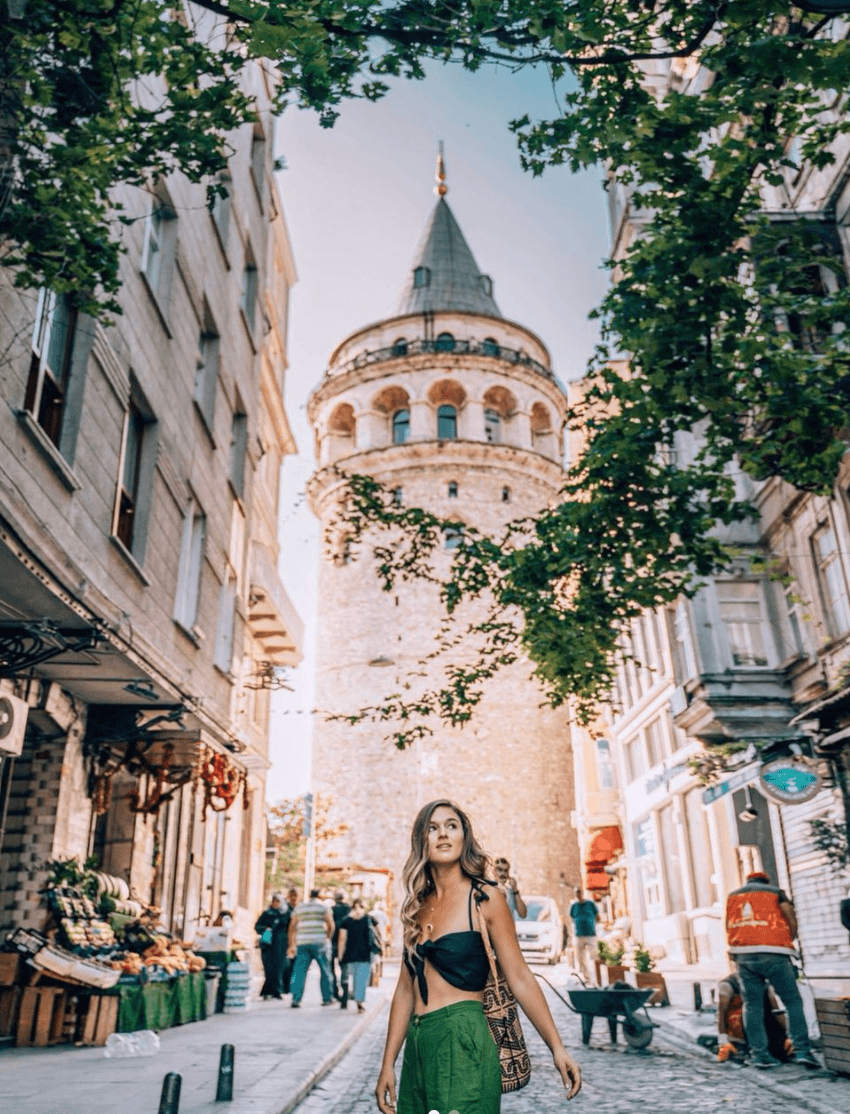
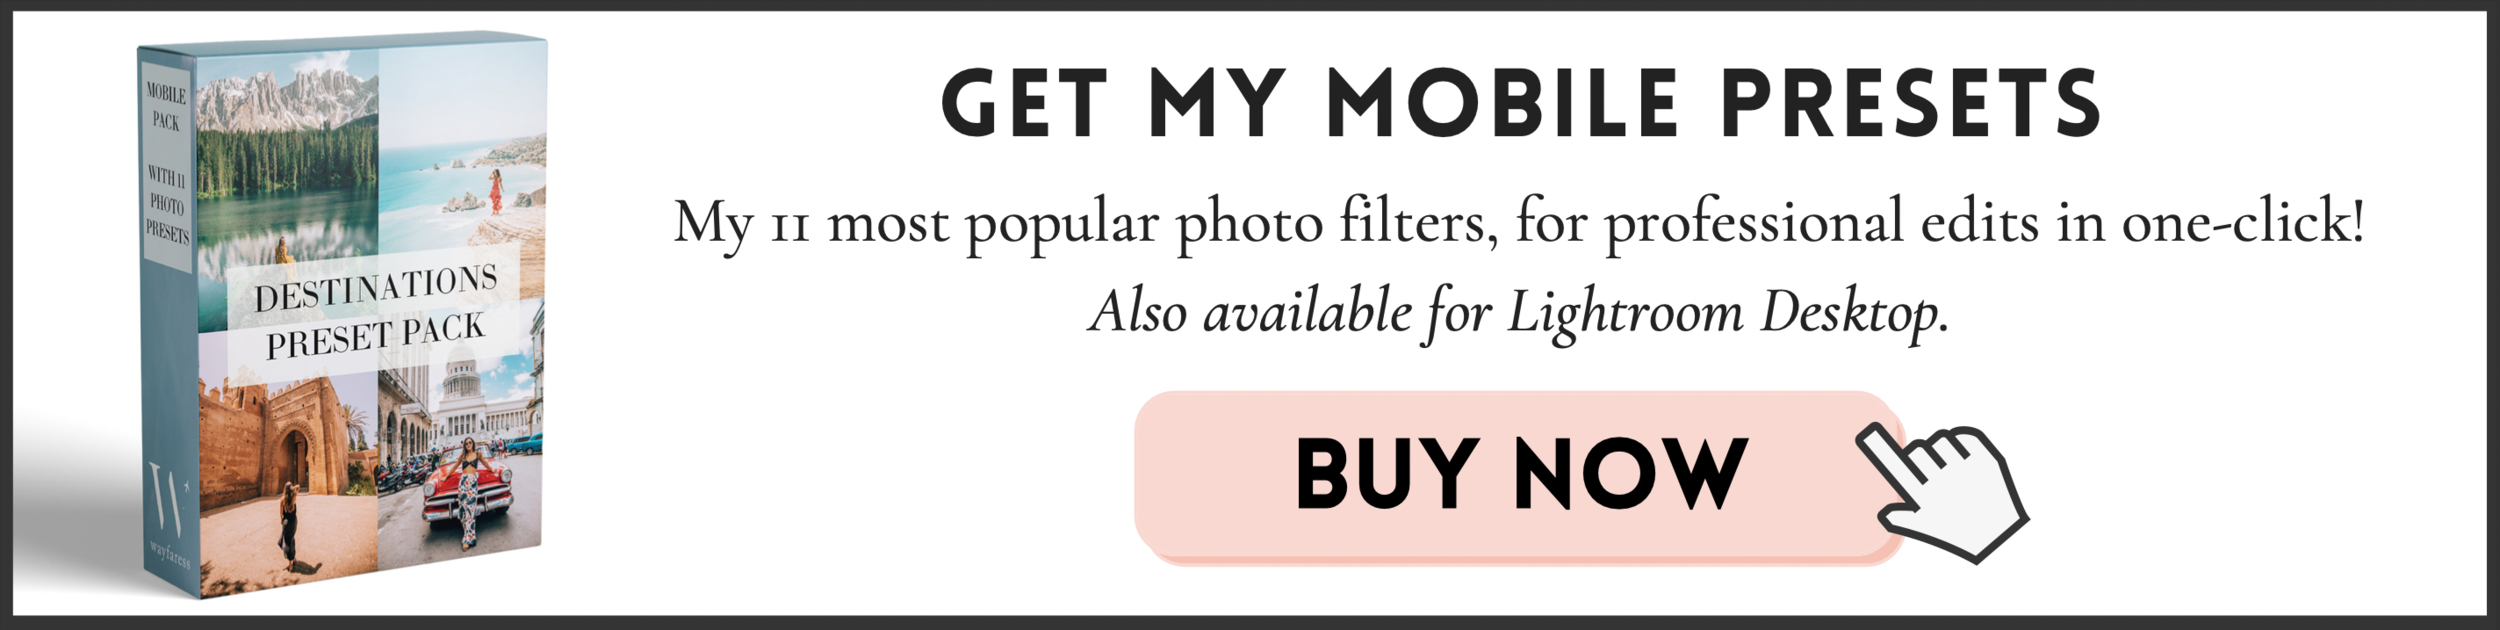
All photos in this blog post were edited with my Destinations Preset Pack — available for purchase here!
1. Wake up early.
It can be quite stressful to have crowds watching your photography process, and editing strangers out of the background of your photos is a pain. Plus, mornings tend to have much softer light — it’ll give you beautiful colors on your photos, without the harsh light and shadows that can make objects over- or under-exposed during the day.
If you can arrive at your photo spot for sunrise or just after, you’ll get the best light, avoid the crowds, and have an added dose of peace and quiet to foster creativity.
Once you’re done with photos, you’ll even have more time to just relax and enjoy the views.

How did I manage to capture the famous Duomo in Milan without the massive crowds of tourists? Arriving right at sunrise! And look at that gorgeous morning light!

The bridge leading to the iconic Cathedral of Christ the Saviour in Moscow is usually packed with people. But when I arrived at sunrise, it was empty and so peaceful. Such a great experience to have this place to myself!
2. Play with depth and framing.
Typically a travel photo will include a subject (you, your friend, or even a tree or building) standing in front of a busy landscape in the background. Adding some foreground textures and color can help create a sense of depth and framing to help the image feel more intriguing.
Try placing a leaf or some flowers in the foreground close to the lens to create a blurred look, almost like the viewer is peeking through the trees at the scene. Or try playing with other textures in the foreground, like a colorful scarf, hanging lamps, airy draped curtains, or a decorative umbrella.

Placing leaves or flowers in the foreground of an image creates a depth to an image and gives it a unique perspective.

Even something as simple as blurring out this bunch of bananas made this photo at a Bali fruit stand much more interesting!
3. edit Photos like a pro.
No matter what equipment you’re using to take photos, what really separates professional-looking travel photos from amateur photos is the editing process. Even a simple iPhone photo can be transformed to magazine-level quality with a good edit!
I always edit my photos in a program called Adobe Lightroom — you can pay for the full Adobe Lightroom Desktop version for more in-depth editing (this is what I usually use! I recommend the Photography Plan which includes a subscription to Adobe Lightroom Classic and Adobe Photoshop — my two go-to editing tools!), or just download the free mobile Lightroom App.
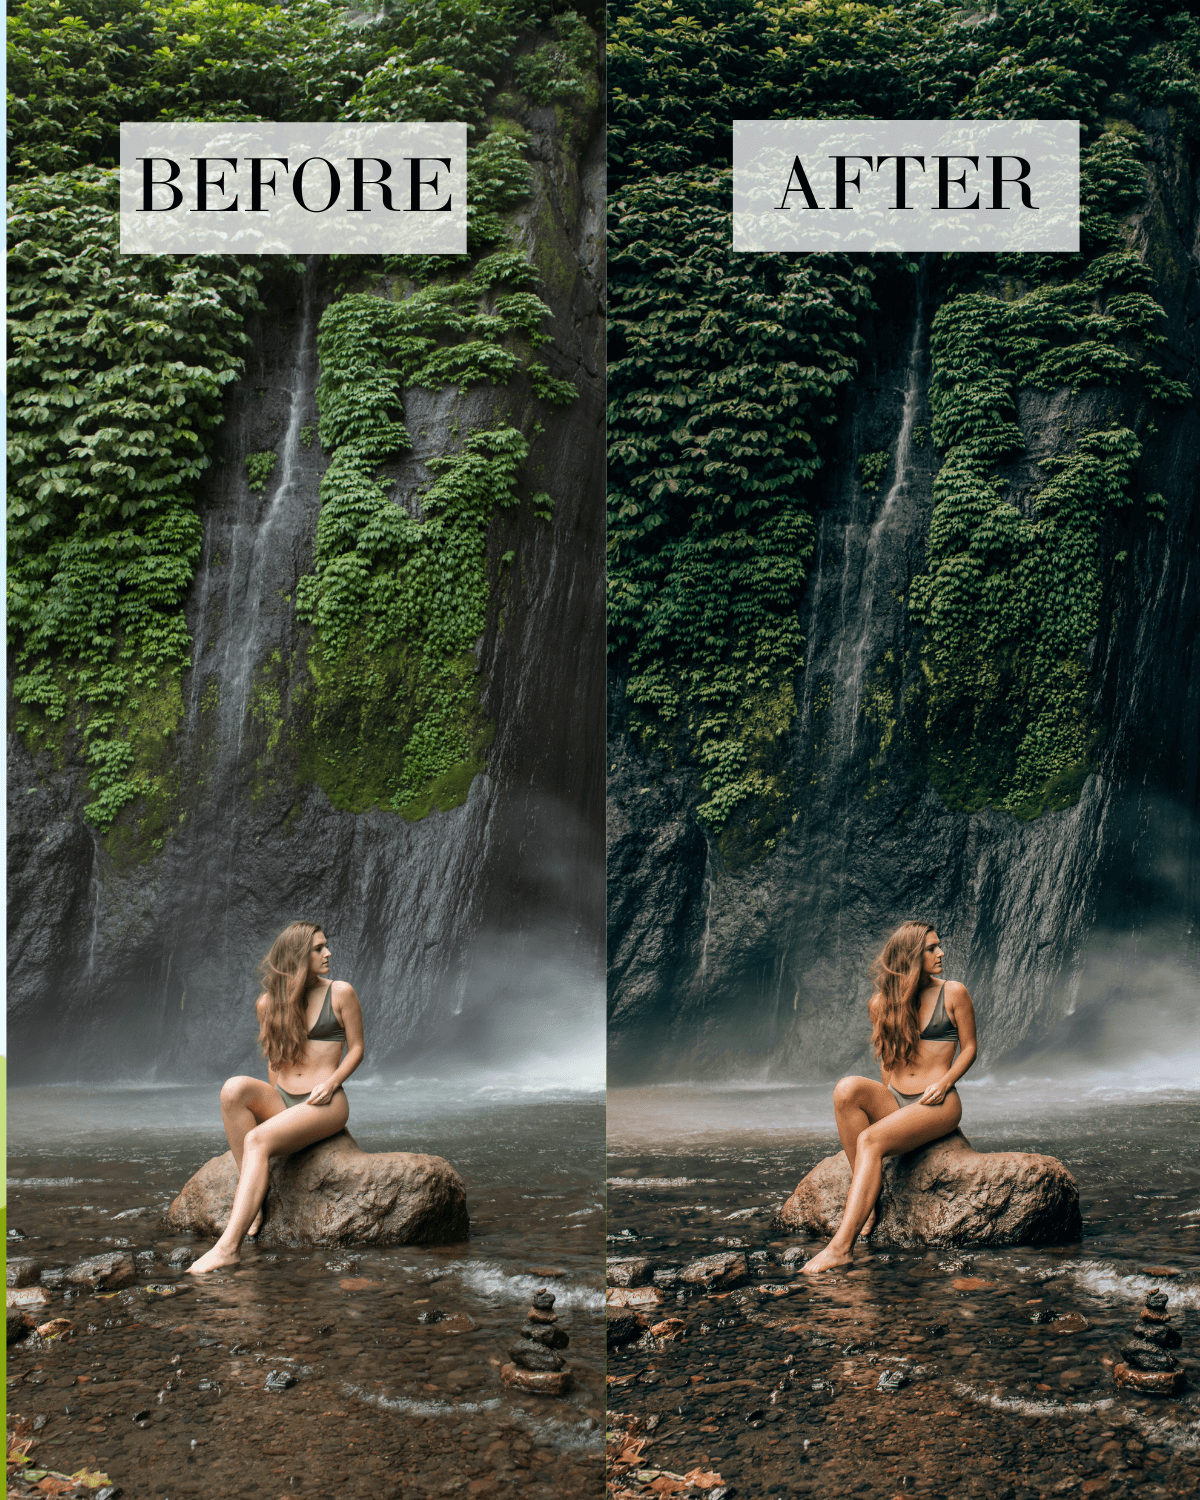
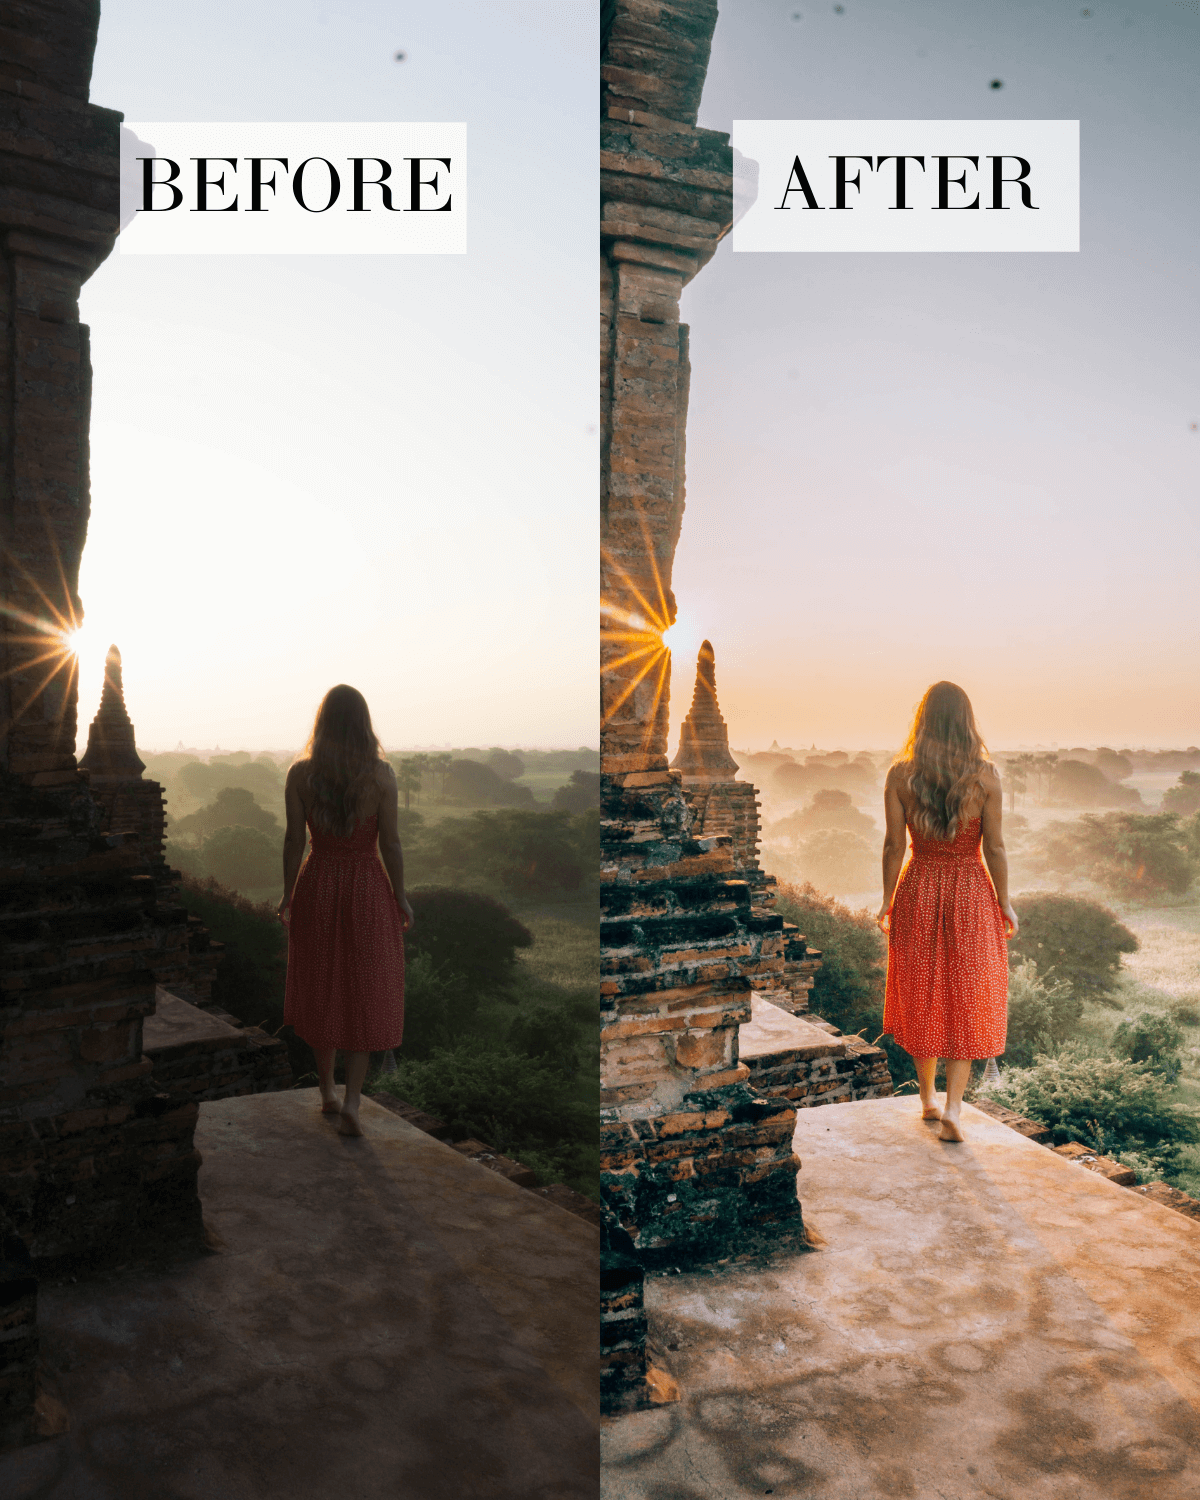
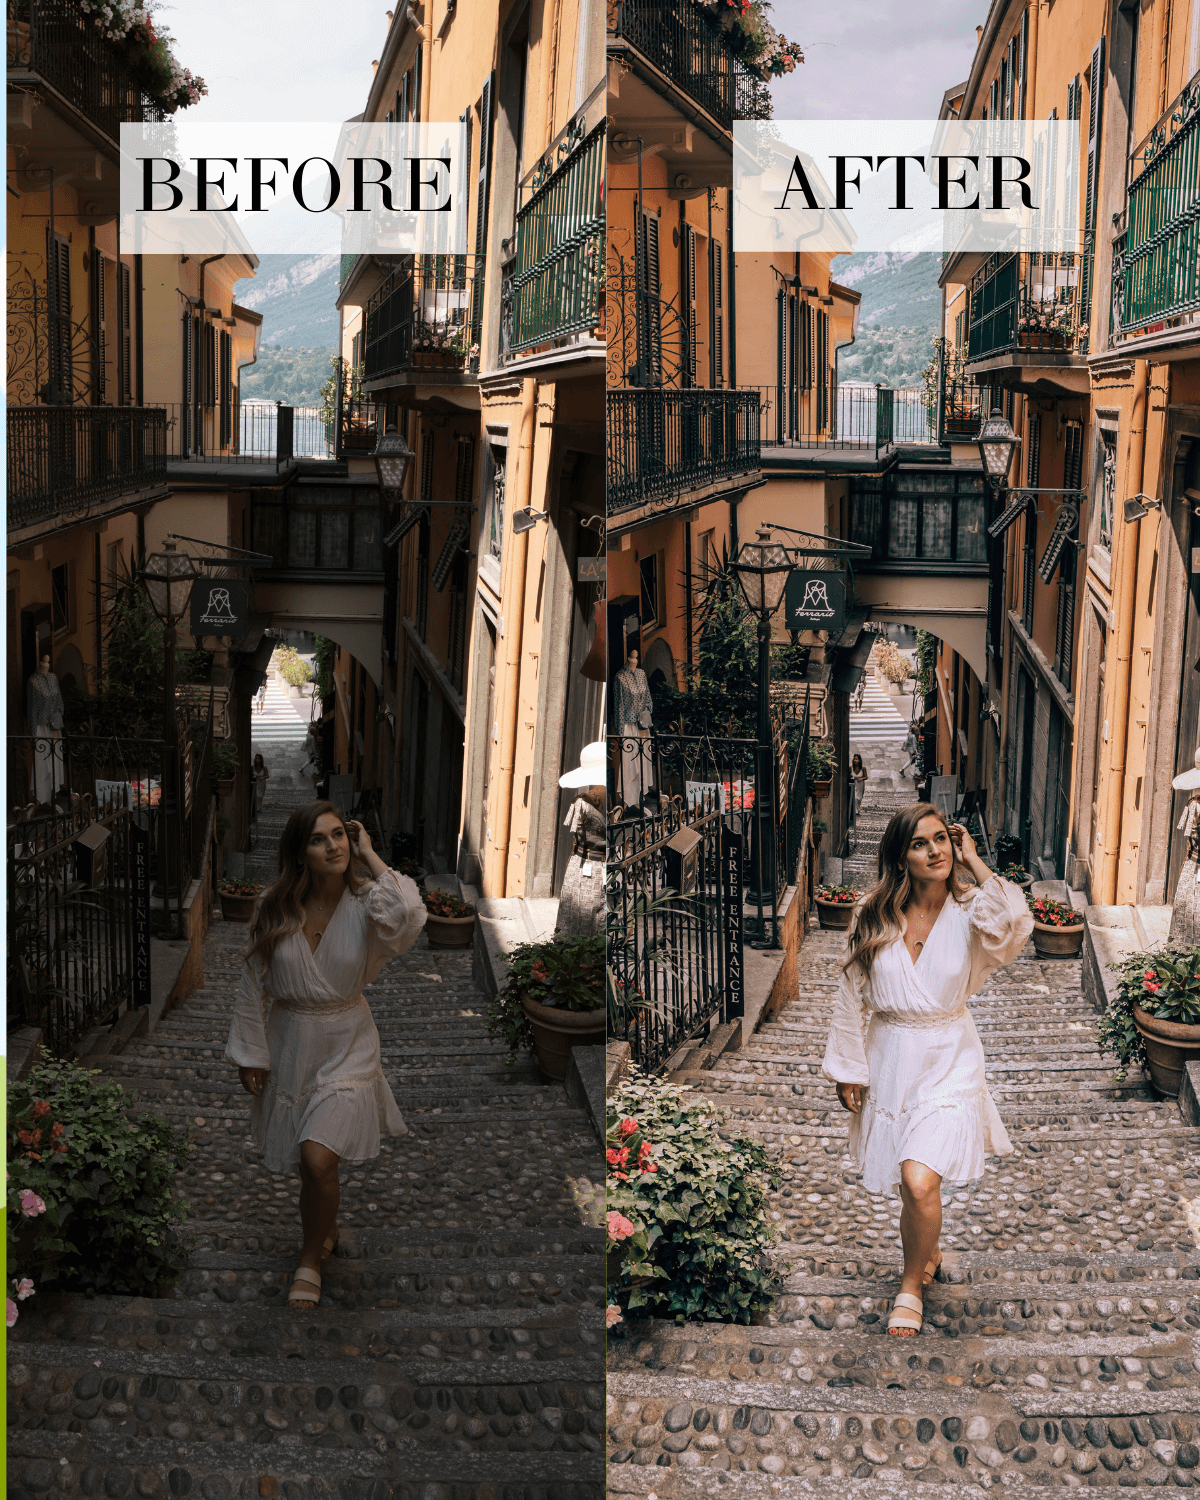
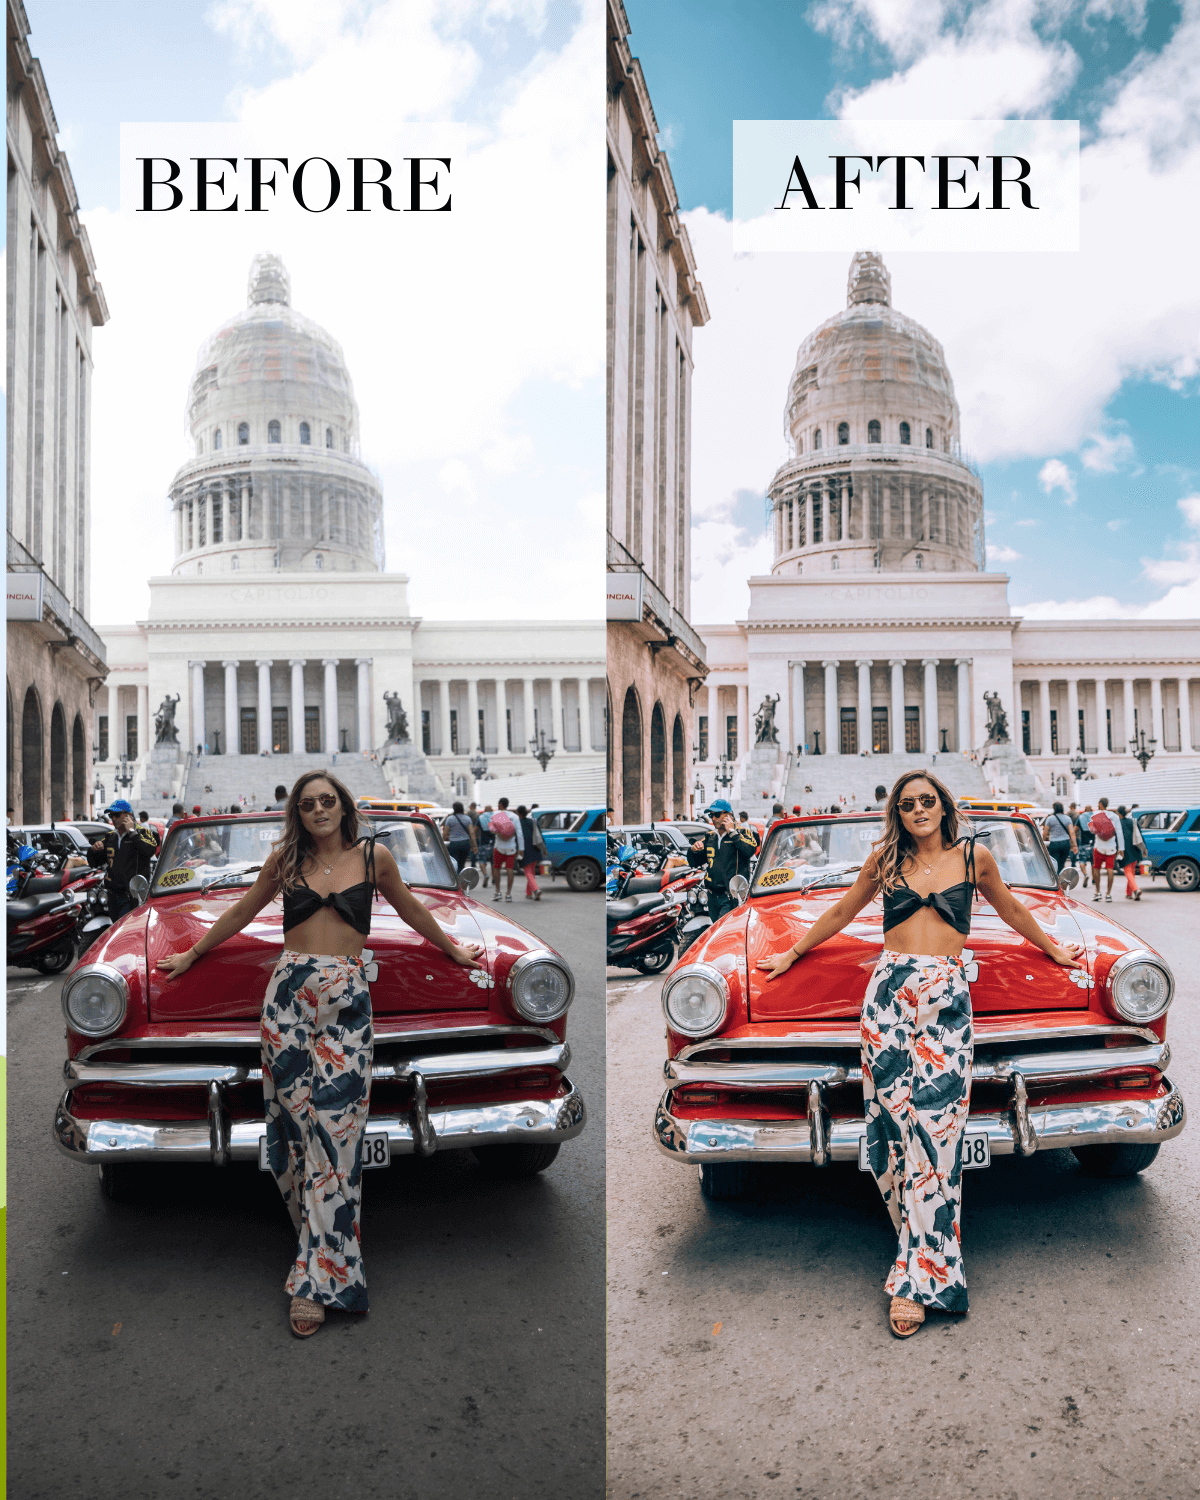
Thankfully, edits can be easy with good presets (which are basically like Instagram “filters” that are used in Lightroom), and you can apply them to your photos for one-click, super easy professional edits! I worked to develop my own personal presets that I use on my photos for years, and made them available for purchase!
You can purchase my personal Lightroom presets here — my Destinations Preset Pack comes for Desktop or Mobile Phone editing, and includes my 11 top presets that I use on my photos. All of the photos used in this blog post were edited with my Destinations Preset Pack!
For more information on Lightroom Presets, including some editing tips, read my Presets FAQ Page.
4. Wear the right outfit.
To create insta-worthy travel photos, you’ll also want to make sure that the clothes you wear add energy to the photo, rather than feeling out of place. Don’t neglect the power that a good outfit has to take photos to the next level! I love wearing clothes that have movement, like dresses or kimonos that flow nicely in the breeze.
I’ll also plan a bit in advance to see what colors would work well with the environment — often you’ll want to pick a nice complementary or accent color, rather than a color that blends into the background and makes you disappear.
Personally, I tend to stay away from busy patterns or images that can be distracting in images. When in doubt, a simple flowy white dress will almost always look effortless and chic!

This bright pink ruffled cocktail dress was perfect for my trip to Cuba — it fit the colorful architecture, the energy and movement of the city, and added an extra punch of sass to my photos!

When in doubt, a simple flowy white dress for an effortless chic look.
5. Don’t be shy with posing.
Posing can feel awkward when you’re first getting used to being in front of the camera, but remember that all good models started with lots of awkward photoshoots. Even now, out of every 100 photos I take, I may like 1-2 enough to post them.
My top posing tip is to just keep moving, and have your photographer take photos on your camera’s “continuous shooting” mode (or just in very quick succession if continuous shooting isn’t available). You may look awkward in 90% of them, but you’ll also be more likely to capture some really great poses that are engaging and unique!
Play with your angles, moving your body, making triangle shapes with your arms and legs (believe me, it works!), and even kneeling or leaning against different objects in the frame. If you need a prop, a cup of coffee or glass of wine, a hat or scarf, or even your hair or clothing can give you inspiration and help you feel less awkward.

Think outside the box with posing! This photoshoot started with me just standing and leaning on the railing, until I decided to get more creative.

A fun go-to pose is to run directly at or away from the camera. Don’t walk (boring) — run! Get your clothes and/or hair moving to create energy in an otherwise still photo.

Making “triangles” with your arms and legs usually looks a lot more interesting and flattering than just standing straight with arms by your side. Give it a try!
6. remember to put the camera away.
The biggest mistake you can make with travel photos is forgetting to take the time to truly experience your destination. Remember to put the camera away sometimes to really appreciate and discover the landscapes, food, and culture that make the place unique.
It’s usually obvious when people have visited a destination simply to recreate trending photos to share to their Instagram. There’s a lack of creativity and originality, and no deeper connection with the people and place. There’s no story to share, nothing thought-provoking or educational — it’s just an image.
If you give yourself time to really engage with the local people and culture, and allow yourself to be present and soak in your surroundings, deeper creativity will come to you and it will be evident in your photos!

I had no plans to take photos on my last day in Shanghai, and simply went exploring in Old Town to try some local snacks and shop for artwork — I loved the area, and we came across this beautiful place to rest with some tea. It ended up being such a unique and perfect spot for a casual photo!

This photo tells a story! When I got stranded in London due to visa issues one summer, I ended up connecting with an Instagram follower who let me crash at her house for a week. We became fast friends — one of my favorite memories was this picnic by the London Eye with wine and cheese on a Friday afternoon!
Let’s Go.
I hope this guide gives you some easy ideas to bring your travel photos to the next level, without breaking the bank! Even with basic smartphone cameras, you can take professional looking photos by focusing on good composition, nice lighting, engaging poses, and high-quality photo presets for Insta-worthy edits, so you can truly capture those amazing travel memories!
Pin For Later:

Have any tips to add to this list? Leave your travel photography tips in the comments below!